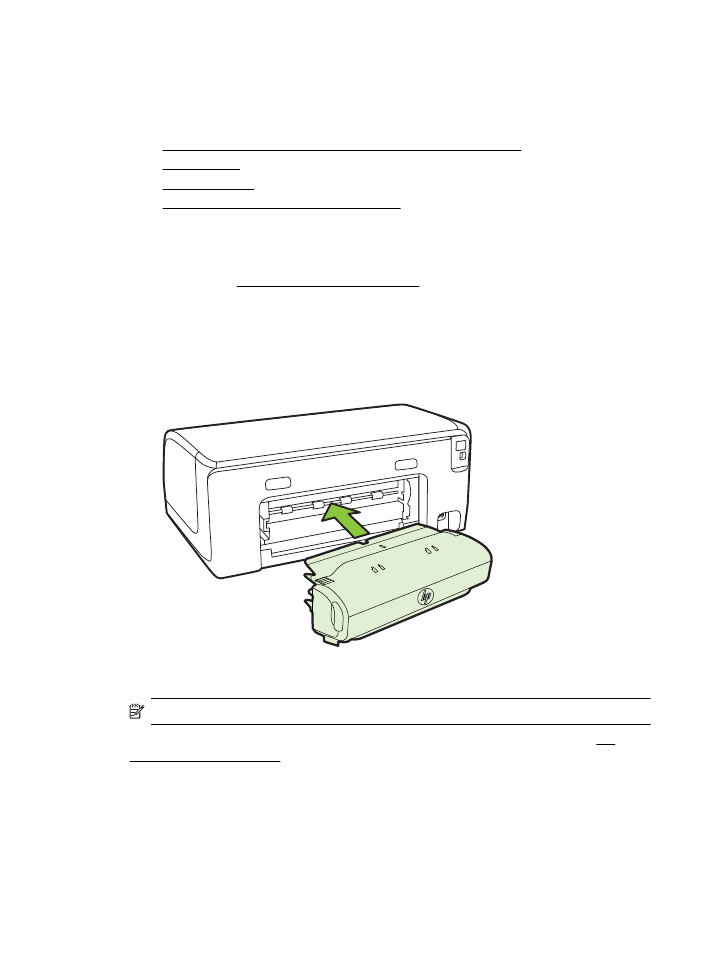
Install Tray 2
NOTE: Tray 2 is available as an optional accessory.
Tray 2 can hold up to 250 sheets of plain paper. For ordering information, see HP
supplies and accessories.
To install Tray 2
1.
Unpack the tray, remove the packing tapes and materials, and move the tray to
the prepared location. The surface must be sturdy and level.
2.
Turn off the printer, and disconnect the power cord.
Install the accessories
19

3.
Set the printer on top of the tray.
CAUTION: Be careful to keep your fingers and hands clear of the bottom of
the printer.
4.
Connect the power cord and turn on the printer.
5.
Enable Tray 2 in the printer driver. For more information, see Turn on accessories
in the printer driver.
To load Tray 2
1.
Pull the tray out of the printer by grasping under the front of the tray.
2.
Insert the paper print-side down in the center of the tray. Make sure the stack of
paper aligns with the line on the width guide, and does not exceed the line
marking on the guide.
NOTE: Tray 2 can be loaded only with plain paper.
3.
Slide the media guides in the tray to adjust them for the size that you have
loaded.
Chapter 1
20
Get started
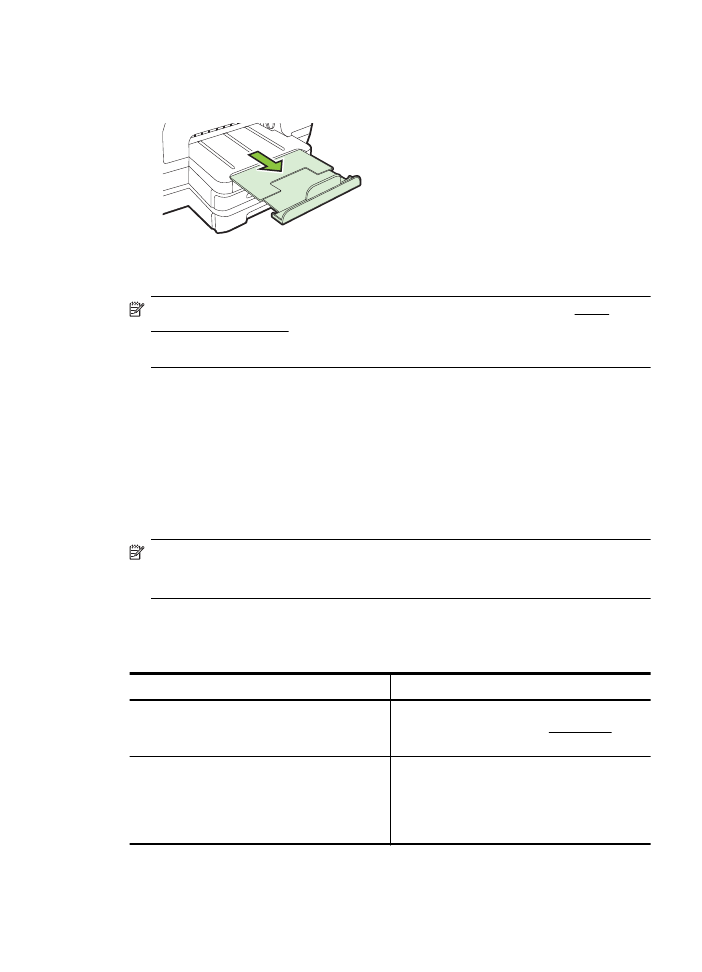
4.
Gently reinsert the tray.
5.
Pull out the extension on the output tray.