Remove and reinstall the printhead
NOTE: This procedure should only be performed when a Missing or Failed
Printhead message has been seen and the printer has first been turned off and
then back on to try to resolve the message. If the message persists, try this
procedure.
Chapter 5
76
Solve a problem

Remove and reinstall the printhead
1.
Make sure that the printer is turned on.
2.
Open the top cover and the ink-cartridge access door.
3.
Lift the latch handle on the print carriage.
4.
Remove the printhead by lifting it up and then pulling it out of the printer.
Printhead maintenance
77
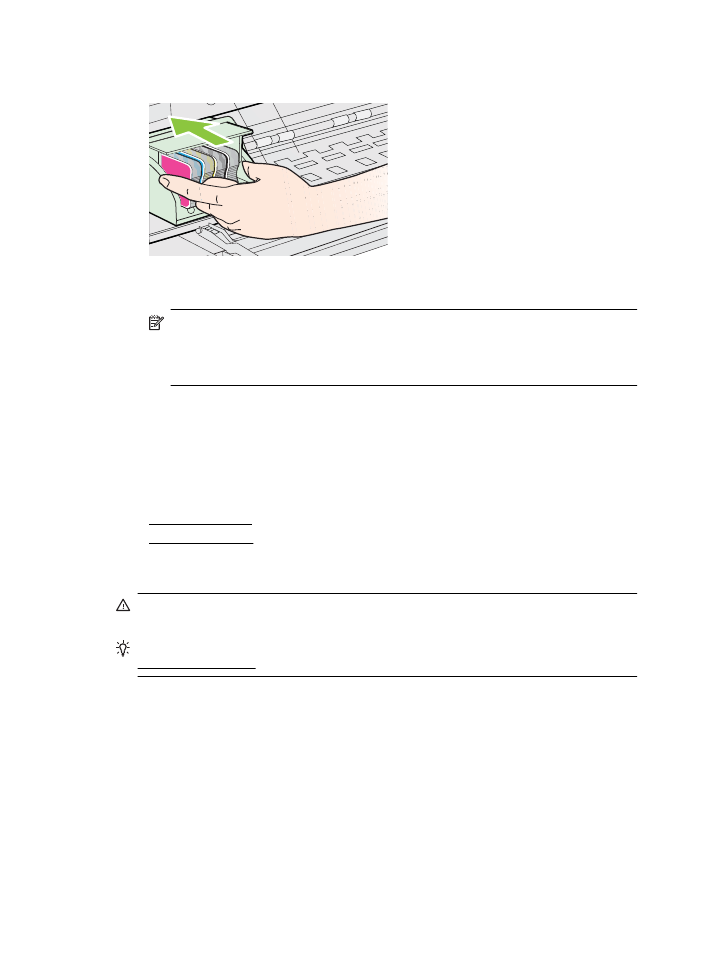
5.
Make sure the latch handle is raised, and then reinsert the printhead.
6.
Carefully lower the latch handle.
NOTE: Make sure you lower the latch handle before reinserting the ink
cartridges. Leaving the latch handle raised can result in incorrectly seated ink
cartridges and problems printing. The latch must remain down in order to
correctly install the ink cartridges.
7.
Close the ink-cartridge access door and the top cover.